Arduino - Cliente TCP
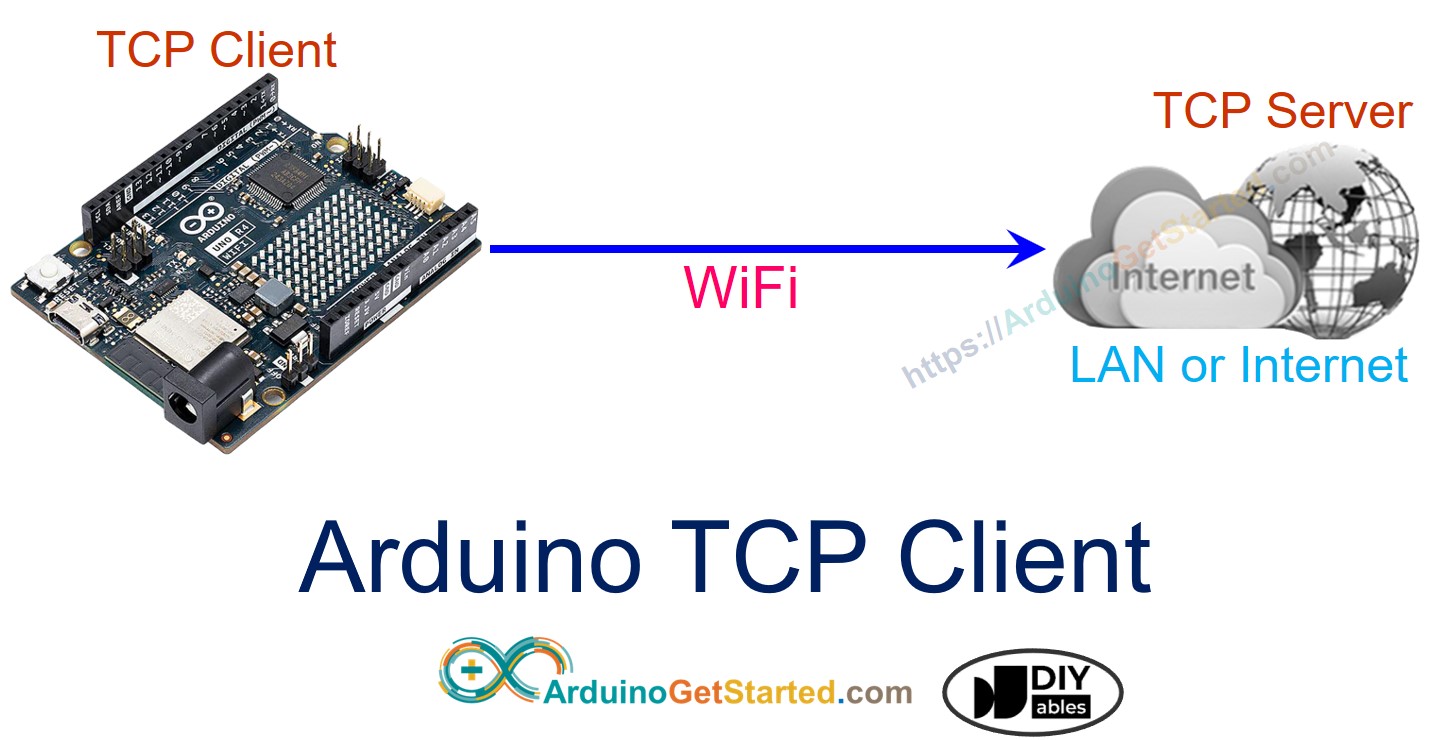
En este tutorial, aprenderemos a programar el Arduino Uno R4 WiFi como cliente TCP y a intercambiar datos con un servidor TCP.
Hardware Requerido
Or you can buy the following kits:
| 1 | × | DIYables STEM V4 IoT Starter Kit (Arduino included) | |
| 1 | × | DIYables Sensor Kit (30 sensors/displays) | |
| 1 | × | DIYables Sensor Kit (18 sensors/displays) |
Divulgación: Algunos de los enlaces proporcionados en esta sección son enlaces de afiliado de Amazon. Podemos recibir una comisión por las compras realizadas a través de estos enlaces sin costo adicional para usted. Apreciamos su apoyo.
Código de Arduino
/*
* Este código de Arduino fue desarrollado por es.newbiely.com
* Este código de Arduino se proporciona al público sin ninguna restricción.
* Para tutoriales completos y diagramas de cableado, visite:
* https://es.newbiely.com/tutorials/arduino/arduino-tcp-client
*/
#include <WiFiS3.h>
const char* WIFI_SSID = "YOUR_WIFI_SSID"; // CHANGE TO YOUR WIFI SSID
const char* WIFI_PASSWORD = "YOUR_WIFI_PASSWORD"; // CHANGE TO YOUR WIFI PASSWORD
const char* TCP_SERVER_ADDR = "192.168.0.26"; // CHANGE TO TCP SERVER'S IP ADDRESS
const int TCP_SERVER_PORT = 1470;
WiFiClient TCP_client;
void setup() {
Serial.begin(9600);
Serial.println("Arduino: TCP CLIENT");
// check for the WiFi module:
if (WiFi.status() == WL_NO_MODULE) {
Serial.println("Communication with WiFi module failed!");
// don't continue
while (true)
;
}
String fv = WiFi.firmwareVersion();
if (fv < WIFI_FIRMWARE_LATEST_VERSION) {
Serial.println("Please upgrade the firmware");
}
Serial.print("Attempting to connect to SSID: ");
Serial.println(WIFI_SSID);
// attempt to connect to WiFi network:
while (WiFi.begin(WIFI_SSID, WIFI_PASSWORD) != WL_CONNECTED) {
delay(10000); // wait 10 seconds for connection:
}
Serial.print("Connected to WiFi ");
Serial.println(WIFI_SSID);
// connect to TCP server
if (TCP_client.connect(TCP_SERVER_ADDR, TCP_SERVER_PORT)) {
Serial.println("Connected to TCP server");
TCP_client.write("Hello!"); // send to TCP Server
TCP_client.flush();
} else {
Serial.println("Failed to connect to TCP server");
}
}
void loop() {
// Read data from server and print them to Serial
if (TCP_client.available()) {
char c = TCP_client.read();
Serial.print(c);
}
if (!TCP_client.connected()) {
Serial.println("Connection is disconnected");
TCP_client.stop();
// reconnect to TCP server
if (TCP_client.connect(TCP_SERVER_ADDR, TCP_SERVER_PORT)) {
Serial.println("Reconnected to TCP server");
TCP_client.write("Hello!"); // send to TCP Server
TCP_client.flush();
} else {
Serial.println("Failed to reconnect to TCP server");
delay(1000);
}
}
}
Paso rápido
Para hacerlo, siga los pasos a continuación:
- Conecta Arduino a tu PC mediante un cable USB Tipo-C
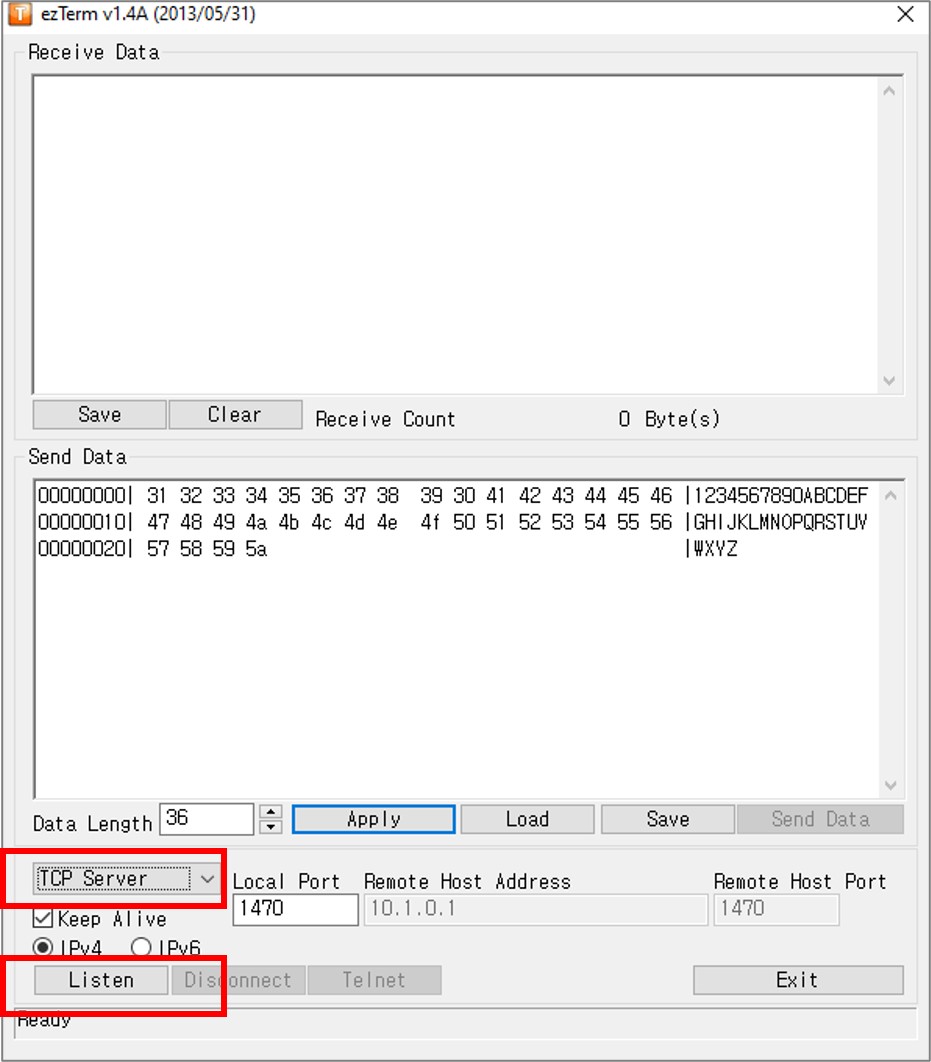
- Instala un programa de servidor TCP como ezTerm
- Abre el programa del servidor TCP y configúralo como servidor TCP, luego haz clic en el botón Escuchar
- Abre el símbolo del sistema en tu PC.
- Encuentra la dirección IP de tu PC ejecutando el siguiente comando:
ipconfig
- La salida se ve a continuación:
Command Prompt
C:\WINDOWS\system32>ipconfig
Windows IP Configuration
Ethernet adapter:
Subnet Mask . . . . . . . . . . . : 255.0.0.0
IPv4 Address. . . . . . . . . . . : 192.168.0.26
Subnet Mask . . . . . . . . . . . : 255.255.255.0
Default Gateway . . . . . . . . . :
- Cambia la dirección IP de tu servidor TCP (tu PC) en el código de Arduino. En el ejemplo anterior, está indicada por 192.168.0.26.
- Compila y sube el código a la placa Arduino haciendo clic en el botón Subir en el IDE de Arduino.
- Abre el Monitor serie
- Verás lo siguiente en el Monitor serie
COM6
Connected to WiFi YOUR_WIFI_SSID
Connected to TCP server
Autoscroll
Clear output
9600 baud
Newline
- Después de conectarte al servidor TCP, Arduino enviará un "Hello!" al servidor TCP, y verás este texto en el software del servidor TCP.
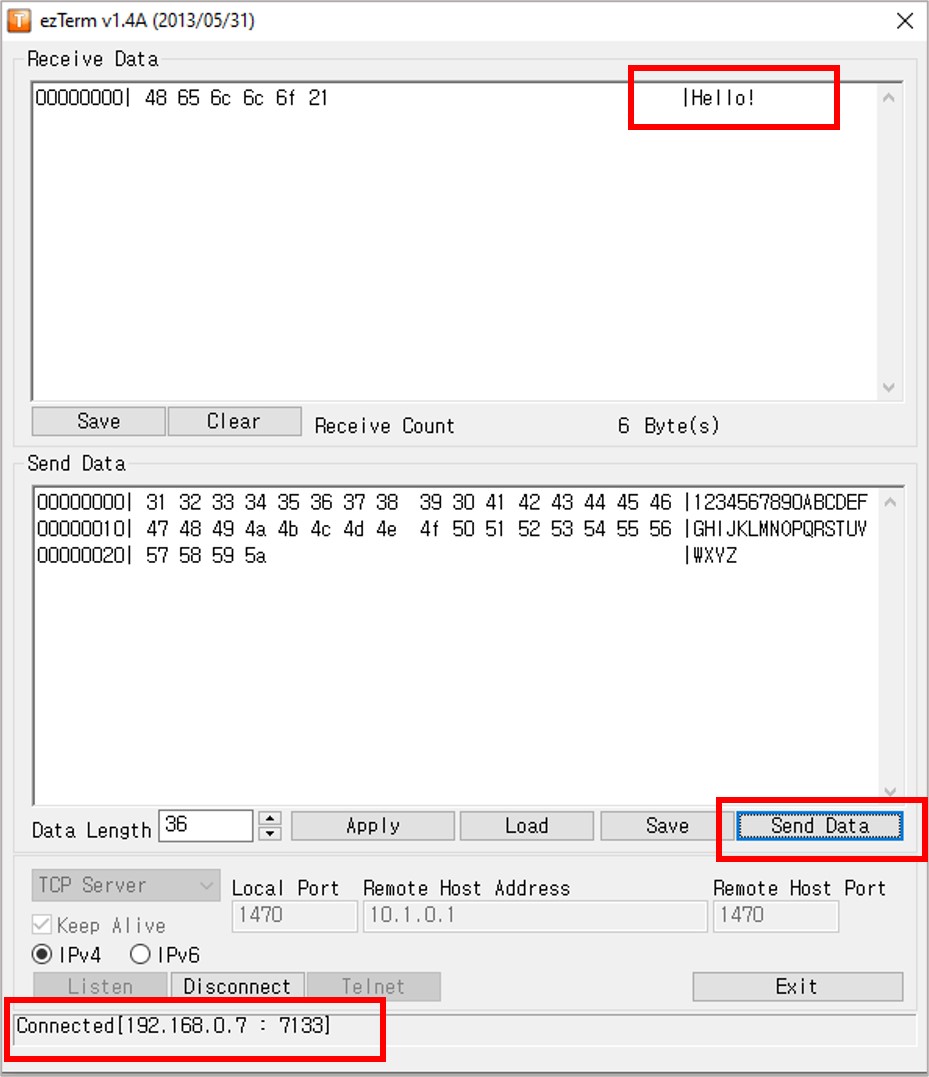
- Escribe algunos datos en el programa del servidor TCP para enviarlos al Arduino a través de TCP.
- Si sale bien, verás los datos en el Monitor Serial.
COM6
Connected to WiFi YOUR_WIFI_SSID
Connected to TCP server
1234567890ABCDEFGHIJKLMNOPQRSTUVWXYZ
Autoscroll
Clear output
9600 baud
Newline