Arduino Nano - Botón - Rebote
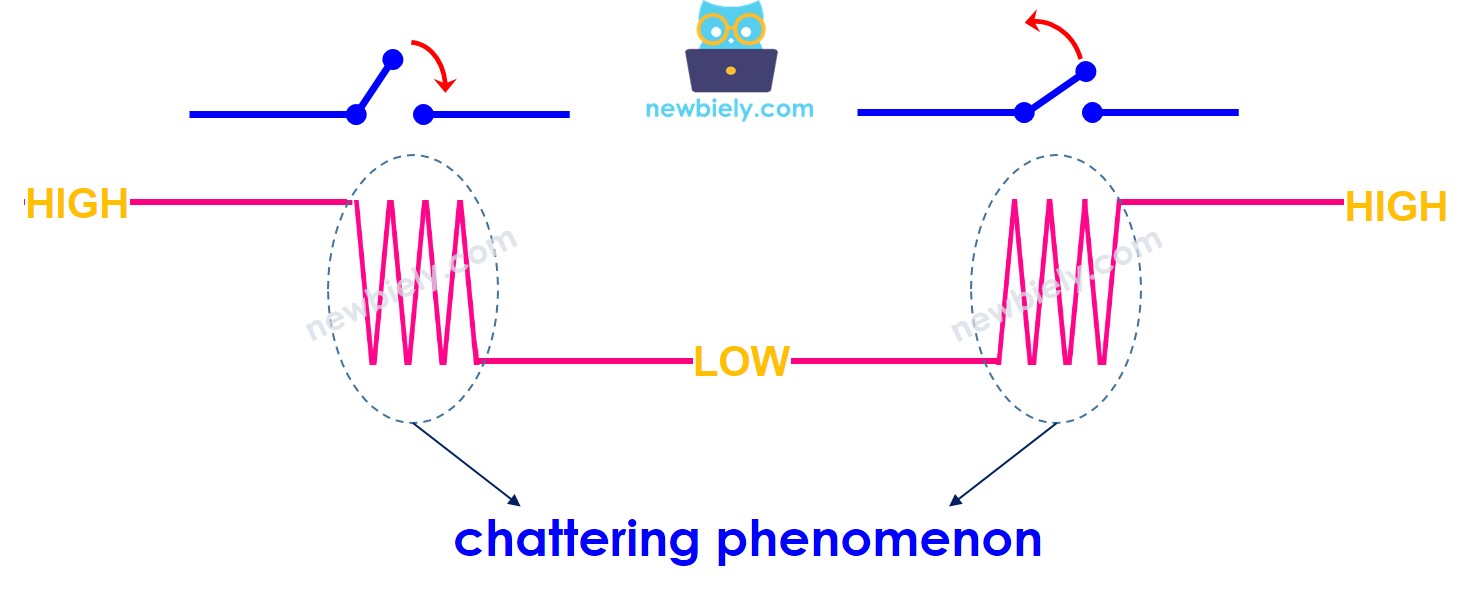
Cuando se presiona o se suelta un botón, o se cambia un interruptor, los principiantes a menudo suponen que su estado cambia de bajo a alto o de alto a bajo. En realidad, esto no siempre es el caso. Debido a características mecánicas y físicas, el estado del botón (o interruptor) puede alternar rápidamente entre bajo y alto varias veces en respuesta a un solo evento. Este fenómeno se conoce como rebote. El rebote puede hacer que una sola pulsación se lea como varias pulsaciones, provocando un mal funcionamiento en ciertas aplicaciones.
El método para eliminar este problema se conoce como debouncing o debounce. Este tutorial te enseña cómo hacerlo al usar el botón con Arduino Nano. Aprenderemos a través de los siguientes pasos:
- Código de Arduino Nano sin antirrebote de un botón.
- Código de Arduino Nano con antirrebote de un botón.
- Código de Arduino Nano con antirrebote de un botón usando la biblioteca ezButton.
- Código de Arduino Nano con antirrebote para múltiples botones.
Hardware Requerido
Or you can buy the following kits:
| 1 | × | DIYables Sensor Kit (30 sensors/displays) | |
| 1 | × | DIYables Sensor Kit (18 sensors/displays) |
Acerca del botón
Si no estás familiarizado con los botones (disposición de pines, funcionalidad, programación, etc.), los siguientes tutoriales pueden ayudar:
Diagrama de Cableado
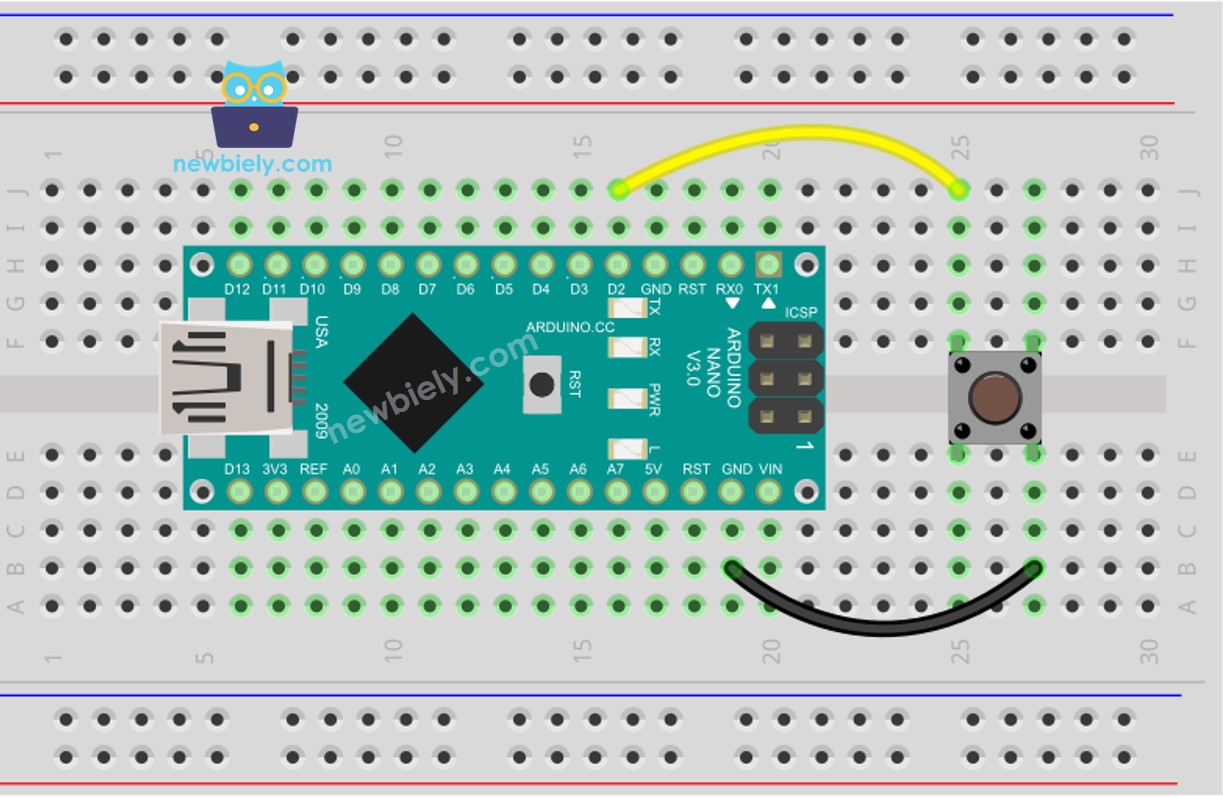
This image is created using Fritzing. Click to enlarge image
Observemos y contrastemos el código del Arduino Nano para ambos casos: con y sin anti-rebote, así como sus respectivos comportamientos.
Lectura del botón sin rebote
Antes de adentrarte en el concepto de debouncing, echa un vistazo al código sin debouncing y observa su comportamiento.
Pasos R\u00e1pidos
- Conecta un cable USB al Arduino Nano y a tu PC.
- Inicia el IDE de Arduino y elige la placa y el puerto correctos.
- Copia el código que se muestra a continuación y ábrelo en el IDE de Arduino.
- Haz clic en el botón Cargar en el IDE de Arduino para compilar y cargar el código en la placa Arduino Nano.
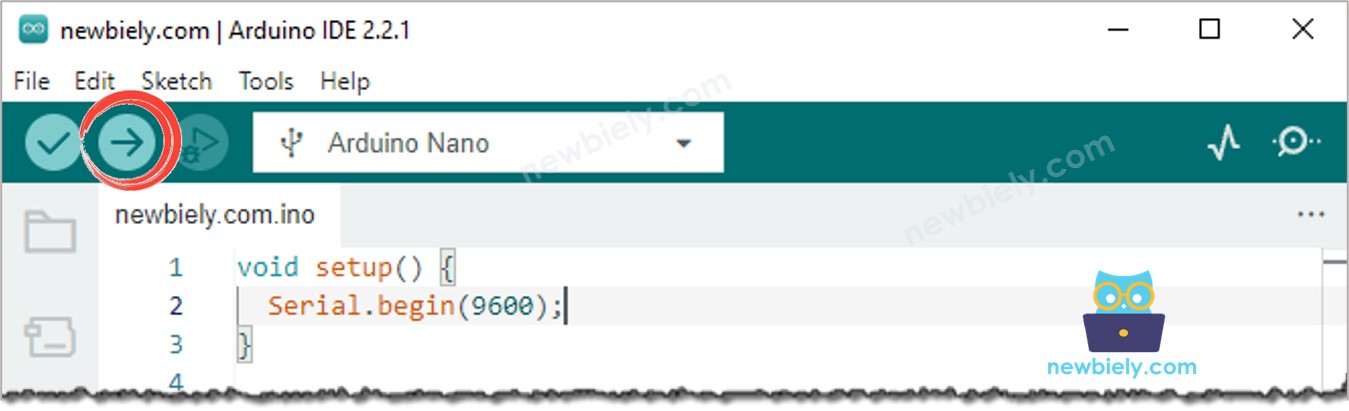
- Abre el monitor serie.
- Mantén pulsado el botón durante unos segundos, luego suéltalo.
- Prueba varias veces.
- Revisa el resultado en el monitor serie.
A veces, solo presionaste y soltaste el botón una vez. Sin embargo, Arduino Nano lo interpreta como varias pulsaciones y liberaciones. Este es el fenómeno de rebote mencionado al inicio del tutorial. Veamos cómo solucionarlo en la próxima parte.
Lectura de un botón con antirrebote
El código que se muestra a continuación aplica el método llamado debounce para evitar el fenómeno de rebote.
Pasos R\u00e1pidos
- Copia el código anterior y ábrelo con el Arduino IDE.
- Haz clic en el botón Subir del IDE de Arduino para compilar y cargar el código al Arduino Nano.
- Abre el Monitor Serial.
- Continúa presionando el botón durante unos segundos, luego suéltalo.
- Mira el resultado en el Monitor Serial.
Como puedes observar, empujaste y soltaste el botón solo una vez. El Arduino Nano lo detecta como una única pulsación y liberación. El ruido se elimina.
Lo Hicimos Fácil - Código de Rebote de Botón para Arduino Nano con Biblioteca
Hemos diseñado una biblioteca, ezButton, para facilitar a quienes están comenzando, especialmente cuando se trata de manejar múltiples botones. Puede obtener más información sobre la biblioteca ezButton aquí.
Código de antirrebote de botón para Arduino Nano de un solo botón
Código antiprebote de botones para Arduino Nano para múltiples botones
El esquema del código anterior: La ilustración del cableado del código:. La representación visual del cableado del código:
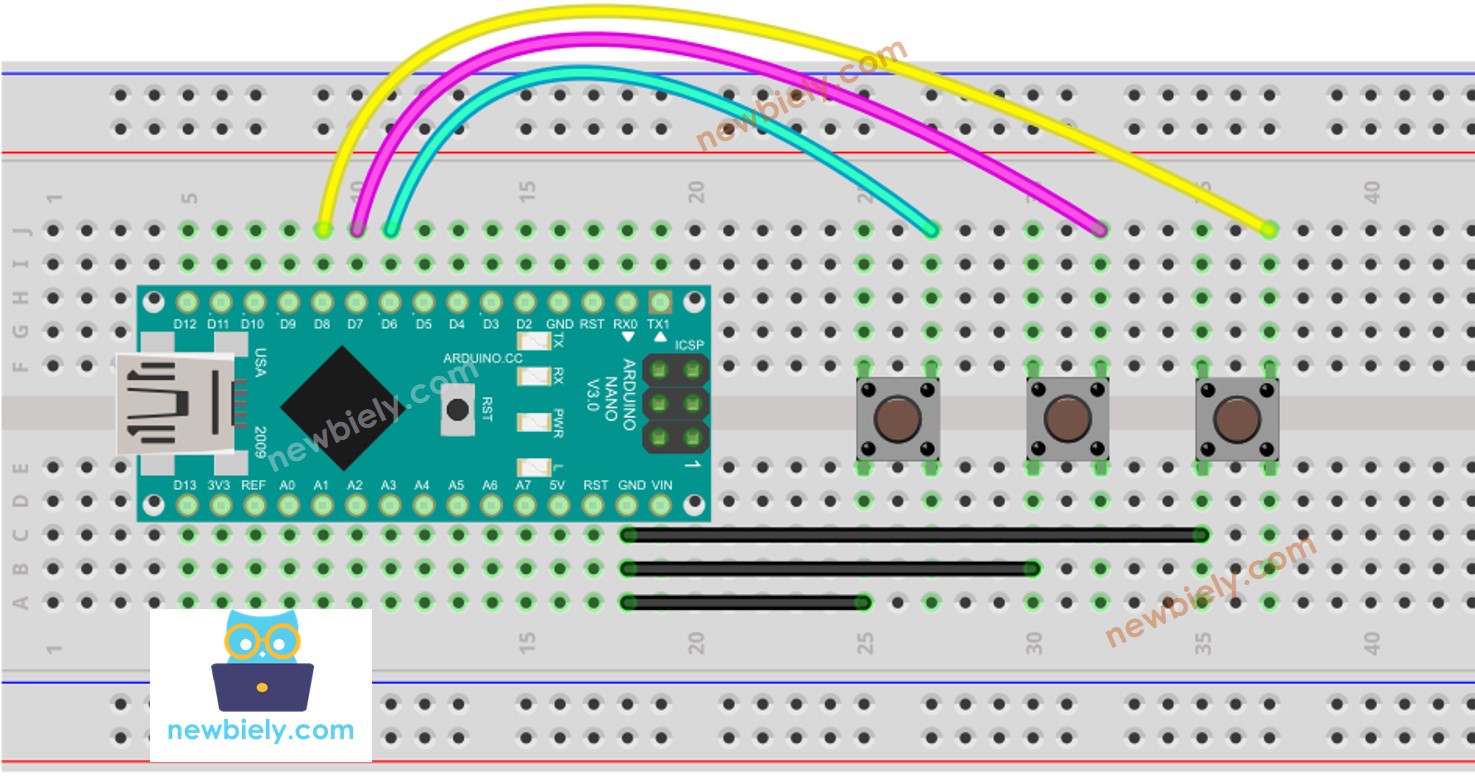
This image is created using Fritzing. Click to enlarge image
Ver La mejor forma de alimentar Arduino Nano y otros componentes.
Video Tutorial
Estamos considerando crear tutoriales en video. Si considera que los tutoriales en video son importantes, suscríbase a nuestro canal de YouTube para motivarnos a crear los videos.
Conocimientos Adicionales
- El valor de DEBOUNCE_DELAY varía según las características físicas de cada botón. Es posible que diferentes botones usen valores diferentes.
Extensibilidad
La técnica de anti-rebote puede utilizarse con un interruptor, un sensor táctil y más.