Arduino Nano ESP32 - LED - Parpadeo sin retardo

Uno de los primeros programas que los principiantes ejecutan es hacer parpadear un LED. La forma más simple de parpadear un LED es usar la función delay(). Esta función bloquea al Arduino Nano ESP32 para que no realice otras tareas. Estará bien si solo quieres parpadear un único LED. Sin embargo, si quieres parpadear más LEDs o realizar otras tareas en paralelo, no puedes usar la función delay(). Necesitamos otra solución. Este tutorial proporciona instrucciones sobre cómo realizar múltiples tareas sin usar la función delay(). Más específicamente, aprenderemos a parpadear un LED y a comprobar el estado del botón.

Vamos a repasar tres ejemplos a continuación y compararemos las diferencias entre ellos.

Este método puede aplicarse para permitir que Arduino Nano ESP32 realice varias tareas al mismo tiempo. Parpadear un LED es solo un ejemplo.

Hardware Requerido

1×Arduino Nano ESP32
1×Cable USB Tipo-A a Tipo-C (para PC USB-A)
1×Cable USB Tipo-C a Tipo-C (para PC USB-C)
1×LED Kit
1×LED (red)
1×LED Module
1×220Ω Resistor
1×Botón para Protoboard con Tapa
1×Kit de Botón para Protoboard
1×Botón Pulsador de Panel
1×Módulo de Botón Pulsador
1×Protoboard
1×Cables Puente
1×(Opcional) Conector de Alimentación DC
1×(Recomendado) Placa de Expansión de Terminales de Tornillo para Arduino Nano
1×(Recomendado) Placa de Expansión Breakout para Arduino Nano
1×(Recomendado) Divisor de Alimentación para Arduino Nano ESP32

Or you can buy the following kits:

1×DIYables Sensor Kit (30 sensors/displays)
1×DIYables Sensor Kit (18 sensors/displays)
Divulgación: Algunos de los enlaces proporcionados en esta sección son enlaces de afiliado de Amazon. Podemos recibir una comisión por las compras realizadas a través de estos enlaces sin costo adicional para usted. Apreciamos su apoyo.

Buy Note: Use the LED Module for easier wiring. It includes an integrated resistor.

Acerca de LED y Botón

Tenemos tutoriales específicos sobre LED y botón. Cada tutorial contiene información detallada y instrucciones paso a paso sobre el pinout del hardware, el principio de funcionamiento, la conexión de cableado al ESP32, el código de Arduino Nano ESP32... Obtenga más información sobre ellos en los siguientes enlaces:

Diagrama de Cableado

Diagrama de cableado de LED y botón para Arduino Nano ESP32

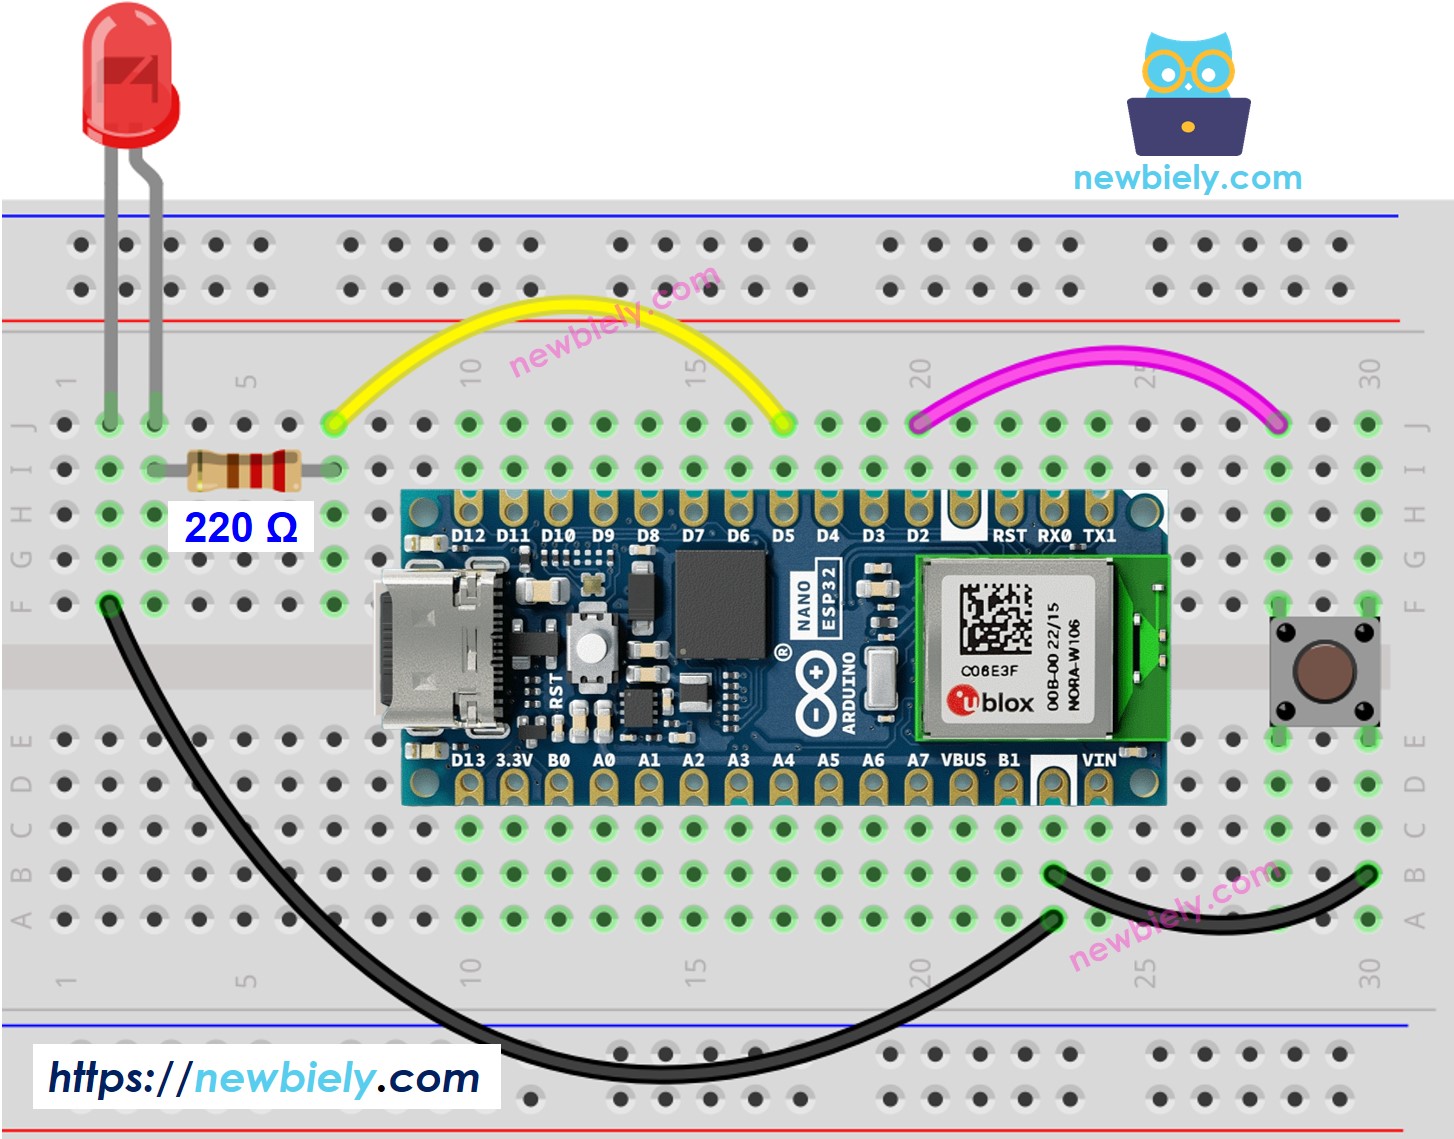
This image is created using Fritzing. Click to enlarge image

Vamos a comparar el código de Arduino Nano ESP32 que hace parpadear un LED con y sin usar la función delay()

Código de Arduino Nano ESP32 con retardo

/* * Este código de Arduino Nano ESP32 fue desarrollado por es.newbiely.com * Este código de Arduino Nano ESP32 se proporciona al público sin ninguna restricción. * Para tutoriales completos y diagramas de cableado, visite: * https://es.newbiely.com/tutorials/arduino-nano-esp32/arduino-nano-esp32-led-blink-without-delay */ #define LED_PIN D5 // The Arduino Nano ESP32 pin D5 connected to LED #define BUTTON_PIN D2 // The Arduino Nano ESP32 pin D2 connected to button #define BLINK_INTERVAL 1000 // interval at which to blink LED (milliseconds) int led_state = LOW; // led_state used to set the LED int prev_button_state = LOW; // will store last time button was updated void setup() { Serial.begin(9600); // set the digital pin as output: pinMode(LED_PIN, OUTPUT); // set the digital pin as an input: pinMode(BUTTON_PIN, INPUT_PULLUP); } void loop() { // if the LED is off turn it on and vice-versa: led_state = (led_state == LOW) ? HIGH : LOW; // set the LED with the led_state of the variable: digitalWrite(LED_PIN, led_state); delay(BLINK_INTERVAL); // If button is pressed during this time, Arduino CANNOT detect int button_state = digitalRead(BUTTON_PIN); if (button_state != prev_button_state) { // print out the state of the button: Serial.println(button_state); // save the last state of button prev_button_state = button_state; } // DO OTHER WORKS HERE }

Pasos R\u00e1pidos

Para empezar con Arduino Nano ESP32, siga estos pasos:

  • Si eres nuevo en Arduino Nano ESP32, consulta el tutorial sobre cómo configurar el entorno para Arduino Nano ESP32 en el IDE de Arduino.
  • Conecta los componentes de acuerdo con el diagrama proporcionado.
  • Conecta la placa Arduino Nano ESP32 a tu computadora utilizando un cable USB.
  • Inicia el IDE de Arduino en tu computadora.
  • Selecciona la placa Arduino Nano ESP32 y su puerto COM correspondiente. Copia el código anterior y pégalo en el IDE de Arduino.
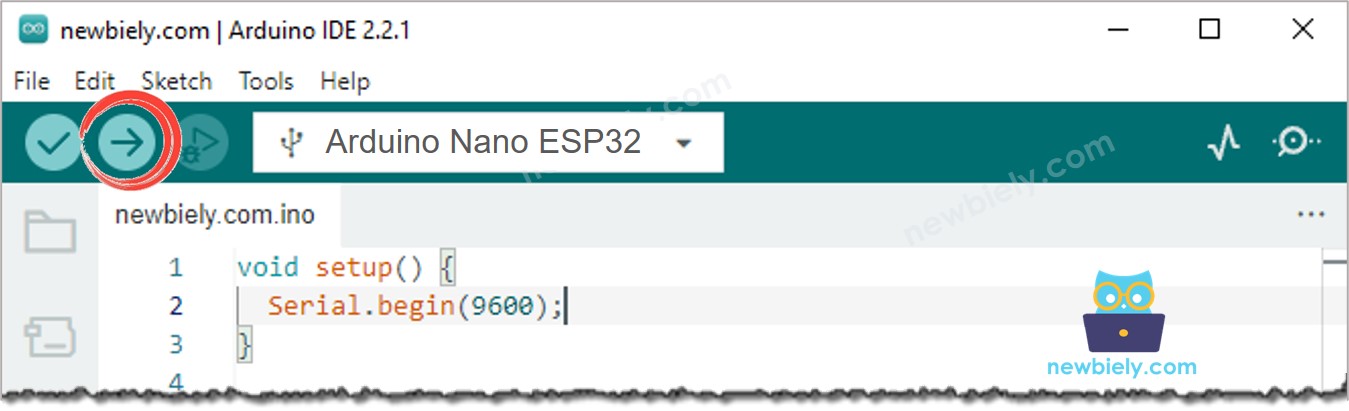
  • Compila y sube el código a la placa Arduino Nano ESP32 haciendo clic en el botón Subir en el IDE de Arduino.
Cómo subir código para Arduino Nano ESP32 al IDE de Arduino
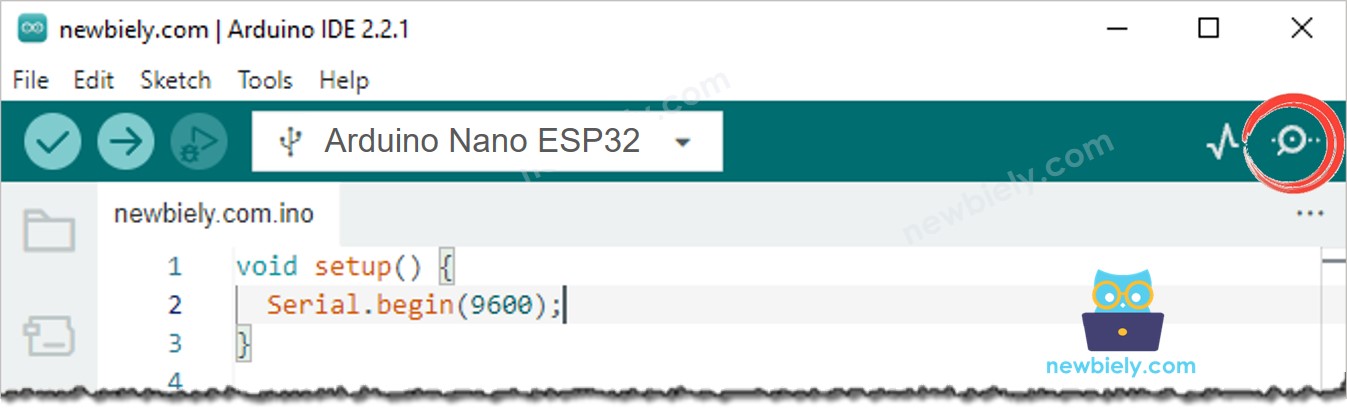
  • Abrir el Monitor Serial en el IDE de Arduino
Cómo abrir el monitor serie en el IDE de Arduino
  • Presiona el botón 4 veces
  • Observa el LED: el LED alterna entre ENCENDIDO y APAGADO cada segundo
  • Observa la salida en el Monitor serie
COM6
Send
1 0
Autoscroll Show timestamp
Clear output
9600 baud  
Newline  
  • En el Monitor Serial, no verás cuatro veces que el estado cambie a 0 (4 pulsaciones). Eso se debe a que, durante el tiempo de retardo, Arduino Nano ESP32 no puede detectar el cambio.

Código Arduino Nano ESP32 - Sin demora

/* * Este código de Arduino Nano ESP32 fue desarrollado por es.newbiely.com * Este código de Arduino Nano ESP32 se proporciona al público sin ninguna restricción. * Para tutoriales completos y diagramas de cableado, visite: * https://es.newbiely.com/tutorials/arduino-nano-esp32/arduino-nano-esp32-led-blink-without-delay */ #define LED_PIN D5 // The Arduino Nano ESP32 pin D5 connected to LED #define BUTTON_PIN D2 // The Arduino Nano ESP32 pin D2 connected to button #define BLINK_INTERVAL 1000 // interval at which to blink LED (milliseconds) int led_state = LOW; // led_state used to set the LED int prev_button_state = LOW; // will store last time button was updated unsigned long prev_millis = 0; // will store last time LED was updated void setup() { Serial.begin(9600); // set the digital pin as output: pinMode(LED_PIN, OUTPUT); // set the digital pin as an input: pinMode(BUTTON_PIN, INPUT_PULLUP); } void loop() { // check to see if it's time to blink the LED; that is, if the difference // between the current time and last time you blinked the LED is bigger than // The interval at which you want to blink the LED. unsigned long current_millis = millis(); if (current_millis - prev_millis >= BLINK_INTERVAL) { // if the LED is off turn it on and vice-versa: led_state = (led_state == LOW) ? HIGH : LOW; // set the LED with the led_state of the variable: digitalWrite(LED_PIN, led_state); // save the last time you blinked the LED prev_millis = current_millis; } // check button state's change int button_state = digitalRead(BUTTON_PIN); if (button_state != prev_button_state) { // print out the state of the button: Serial.println(button_state); // save the last state of button prev_button_state = button_state; } // DO OTHER WORKS HERE }

Pasos R\u00e1pidos

COM6
Send
1 0 1 0 1 0 1 0
Autoscroll Show timestamp
Clear output
9600 baud  
Newline  
  • Todos los eventos de presión fueron detectados.

Explicación del código línea por línea

El código anterior de Arduino Nano ESP32 contiene una explicación línea por línea. ¡Por favor, lea los comentarios en el código!

Agregar más tareas

El código a continuación parpadea dos LEDs con intervalos diferentes y verifica el estado del botón.

/* * Este código de Arduino Nano ESP32 fue desarrollado por es.newbiely.com * Este código de Arduino Nano ESP32 se proporciona al público sin ninguna restricción. * Para tutoriales completos y diagramas de cableado, visite: * https://es.newbiely.com/tutorials/arduino-nano-esp32/arduino-nano-esp32-led-blink-without-delay */ #define LED_PIN_1 D6 // The Arduino Nano ESP32 pin D6 connected to LED 1 #define LED_PIN_2 D5 // The Arduino Nano ESP32 pin D5 connected to LED 2 #define BUTTON_PIN D2 // The Arduino Nano ESP32 pin D2 connected to button #define BLINK_INTERVAL_1 1000 // interval at which to blink LED 1 (milliseconds) #define BLINK_INTERVAL_2 500 // interval at which to blink LED 2 (milliseconds) int led_state_1 = LOW; // led_state used to set the LED 1 int led_state_2 = LOW; // led_state used to set the LED 2 int prev_button_state = LOW; // will store last time button was updated unsigned long prev_millis_1 = 0; // will store last time LED 1 was updated unsigned long prev_millis_2 = 0; // will store last time LED 2 was updated void setup() { Serial.begin(9600); // set the digital pin as output: pinMode(LED_PIN_1, OUTPUT); pinMode(LED_PIN_2, OUTPUT); // set the digital pin as an input: pinMode(BUTTON_PIN, INPUT_PULLUP); } void loop() { unsigned long current_millis = millis(); // check to see if it's time to blink the LED 1 if (current_millis - prev_millis_1 >= BLINK_INTERVAL_1) { // if the LED is off turn it on and vice-versa: led_state_1 = (led_state_1 == LOW) ? HIGH : LOW; // set the LED with the led_state of the variable: digitalWrite(LED_PIN_1, led_state_1); // save the last time you blinked the LED prev_millis_1 = current_millis; } // check to see if it's time to blink the LED 2 if (current_millis - prev_millis_2 >= BLINK_INTERVAL_2) { // if the LED is off turn it on and vice-versa: led_state_2 = (led_state_2 == LOW) ? HIGH : LOW; // set the LED with the led_state of the variable: digitalWrite(LED_PIN_2, led_state_2); // save the last time you blinked the LED prev_millis_2 = current_millis; } // check button state's change int button_state = digitalRead(BUTTON_PIN); if (button_state != prev_button_state) { // print out the state of the button: Serial.println(button_state); // save the last state of button prev_button_state = button_state; } // DO OTHER WORKS HERE }

Video Tutorial

Estamos considerando crear tutoriales en video. Si considera que los tutoriales en video son importantes, suscríbase a nuestro canal de YouTube para motivarnos a crear los videos.

Traduce el contenido que se indica a continuación del inglés al español, devuelve solo el resultado:

Referencias lingüísticas

※ NUESTROS MENSAJES

  • No dude en compartir el enlace de este tutorial. Sin embargo, por favor no use nuestro contenido en otros sitios web. Hemos invertido mucho esfuerzo y tiempo en crear el contenido, ¡por favor respete nuestro trabajo!