Arduino Nano ESP32 - Solicitud HTTP
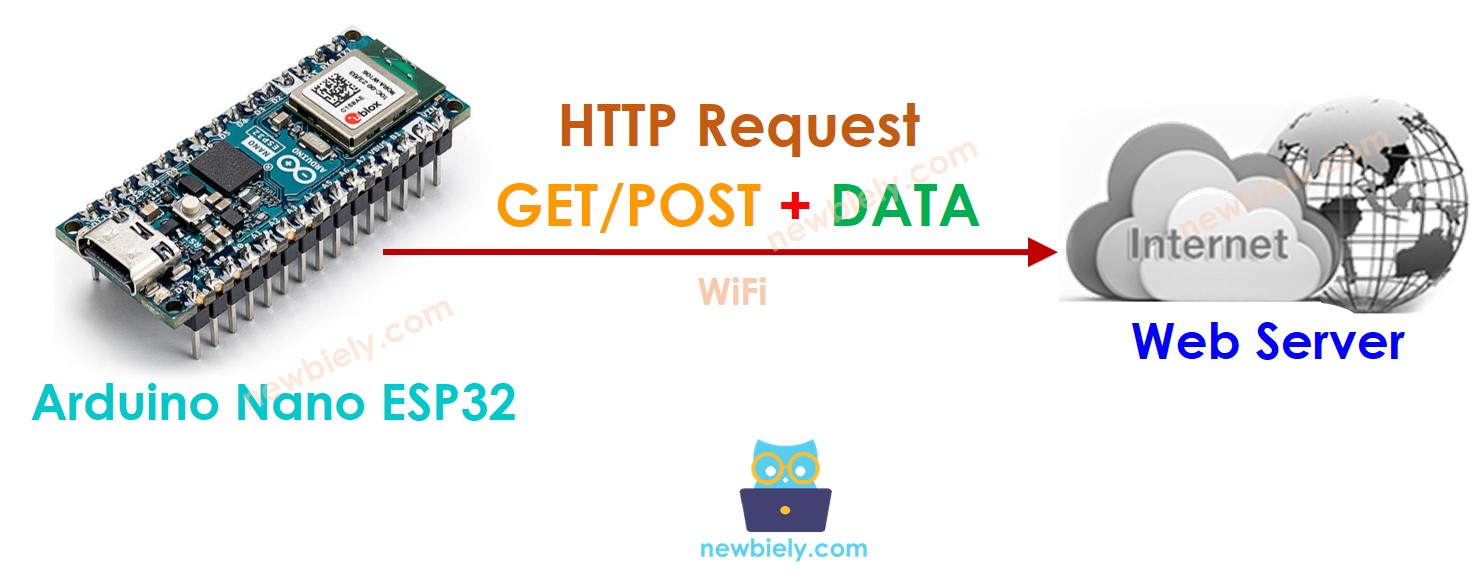
Este tutorial proporciona instrucciones sobre cómo usar Arduino Nano ESP32 para realizar una solicitud HTTP a un servidor web, una API o un servicio web. En detalle, aprenderás:
Or you can buy the following kits:
Divulgación: Algunos de los enlaces proporcionados en esta sección son enlaces de afiliado de Amazon. Podemos recibir una comisión por las compras realizadas a través de estos enlaces sin costo adicional para usted. Apreciamos su apoyo.
Existen algunos conceptos básicos de la web, como: la dirección web (URL), el nombre de host, la ruta, la cadena de consulta y la solicitud HTTP... Puedes aprender más detalles sobre ellos en tutorial de HTTP.
#include <WiFi.h>
#include <HTTPClient.h>
const char WIFI_SSID[] = "YOUR_WIFI_SSID";
const char WIFI_PASSWORD[] = "YOUR_WIFI_PASSWORD";
String HOST_NAME = "http://YOUR_DOMAIN.com";
String PATH_NAME = "/products/arduino";
String queryString = "temperature=26&humidity=70";
http.begin(HOST_NAME + PATH_NAME);
int httpCode = http.GET();
if (httpCode > 0) {
if (httpCode == HTTP_CODE_OK) {
String payload = http.getString();
Serial.println(payload);
} else {
Serial.printf("[HTTP] GET... code: %d\n", httpCode);
}
} else {
Serial.printf("[HTTP] GET... failed, error: %s\n", http.errorToString(httpCode).c_str());
}
http.end();
Podemos enviar datos al servidor web incluyendo datos en la solicitud HTTP. El formato de los datos depende del método de la solicitud HTTP:
Para la solicitud HTTP GET
Para la solicitud HTTP POST
Los datos se pueden enviar NO SOLO en formato de cadena de consulta, SINO TAMBIÉN en cualquier otro formato como JSON, XML, imágenes ...
Los datos se colocan en el cuerpo de la solicitud HTTP.
Vamos a aprender cómo enviar datos en formato de cadena de consulta tanto para HTTP GET como para POST
int temp =
int humi =
String queryString = String("temperature=") + String(temp) + String("&humidity=") + String(humi);
http.begin(HOST_NAME + PATH_NAME + "?" + queryString);
http.addHeader("Content-Type", "application/x-www-form-urlencoded");
int httpCode = http.GET();
http.begin(HOST_NAME + PATH_NAME);
http.addHeader("Content-Type", "application/x-www-form-urlencoded");
int httpCode = http.POST(queryString);
if (httpCode > 0) {
if (httpCode == HTTP_CODE_OK) {
String payload = http.getString();
Serial.println(payload);
} else {
Serial.printf("[HTTP] GET/POST... code: %d\n", httpCode);
}
} else {
Serial.printf("[HTTP] GET/POST... failed, error: %s\n", http.errorToString(httpCode).c_str());
}
http.end();
Lo siguiente es el código completo de Arduino Nano ESP32 para realizar solicitudes HTTP GET/POST.
#include <WiFi.h>
#include <HTTPClient.h>
const char WIFI_SSID[] = "YOUR_WIFI_SSID";
const char WIFI_PASSWORD[] = "YOUR_WIFI_PASSWORD";
String HOST_NAME = "http://YOUR_DOMAIN.com";
String HOST_NAME = "http://YOUR_DOMAIN.com";
void setup() {
Serial.begin(9600);
WiFi.begin(WIFI_SSID, WIFI_PASSWORD);
Serial.println("Connecting");
while(WiFi.status() != WL_CONNECTED) {
delay(500);
Serial.print(".");
}
Serial.println("");
Serial.print("Connected to WiFi network with IP Address: ");
Serial.println(WiFi.localIP());
HTTPClient http;
http.begin(HOST_NAME + PATH_NAME);
int httpCode = http.GET();
if(httpCode > 0) {
if(httpCode == HTTP_CODE_OK) {
String payload = http.getString();
Serial.println(payload);
} else {
Serial.printf("[HTTP] GET... code: %d\n", httpCode);
}
} else {
Serial.printf("[HTTP] GET... failed, error: %s\n", http.errorToString(httpCode).c_str());
}
http.end();
}
void loop() {
}
#include <WiFi.h>
#include <HTTPClient.h>
const char WIFI_SSID[] = "YOUR_WIFI_SSID";
const char WIFI_PASSWORD[] = "YOUR_WIFI_PASSWORD";
String HOST_NAME = "http://YOUR_DOMAIN.com";
String PATH_NAME = "/products/arduino";
String queryString = "temperature=26&humidity=70";
void setup() {
Serial.begin(9600);
WiFi.begin(WIFI_SSID, WIFI_PASSWORD);
Serial.println("Connecting");
while (WiFi.status() != WL_CONNECTED) {
delay(500);
Serial.print(".");
}
Serial.println("");
Serial.print("Connected to WiFi network with IP Address: ");
Serial.println(WiFi.localIP());
HTTPClient http;
http.begin(HOST_NAME + PATH_NAME + "?" + queryString);
http.addHeader("Content-Type", "application/x-www-form-urlencoded");
int httpCode = http.GET();
if (httpCode > 0) {
if (httpCode == HTTP_CODE_OK) {
String payload = http.getString();
Serial.println(payload);
} else {
Serial.printf("[HTTP] GET... code: %d\n", httpCode);
}
} else {
Serial.printf("[HTTP] GET... failed, error: %s\n", http.errorToString(httpCode).c_str());
}
http.end();
}
void loop() {
}
#include <WiFi.h>
#include <HTTPClient.h>
const char WIFI_SSID[] = "YOUR_WIFI_SSID";
const char WIFI_PASSWORD[] = "YOUR_WIFI_PASSWORD";
String HOST_NAME = "http://YOUR_DOMAIN.com";
String PATH_NAME = "/products/arduino";
String queryString = "temperature=26&humidity=70";
void setup() {
Serial.begin(9600);
WiFi.begin(WIFI_SSID, WIFI_PASSWORD);
Serial.println("Connecting");
while (WiFi.status() != WL_CONNECTED) {
delay(500);
Serial.print(".");
}
Serial.println("");
Serial.print("Connected to WiFi network with IP Address: ");
Serial.println(WiFi.localIP());
HTTPClient http;
http.begin(HOST_NAME + PATH_NAME);
http.addHeader("Content-Type", "application/x-www-form-urlencoded");
int httpCode = http.POST(queryString);
if (httpCode > 0) {
if (httpCode == HTTP_CODE_OK) {
String payload = http.getString();
Serial.println(payload);
} else {
Serial.printf("[HTTP] POST... code: %d\n", httpCode);
}
} else {
Serial.printf("[HTTP] POST... failed, error: %s\n", http.errorToString(httpCode).c_str());
}
http.end();
}
void loop() {
}
※ NUESTROS MENSAJES
No dude en compartir el enlace de este tutorial. Sin embargo, por favor no use nuestro contenido en otros sitios web. Hemos invertido mucho esfuerzo y tiempo en crear el contenido, ¡por favor respete nuestro trabajo!